As an Amazon Associate I earn from qualifying purchases.
Disclosure: This post contains affiliate links. If you buy through them, we may earn a commission at no extra cost to you.
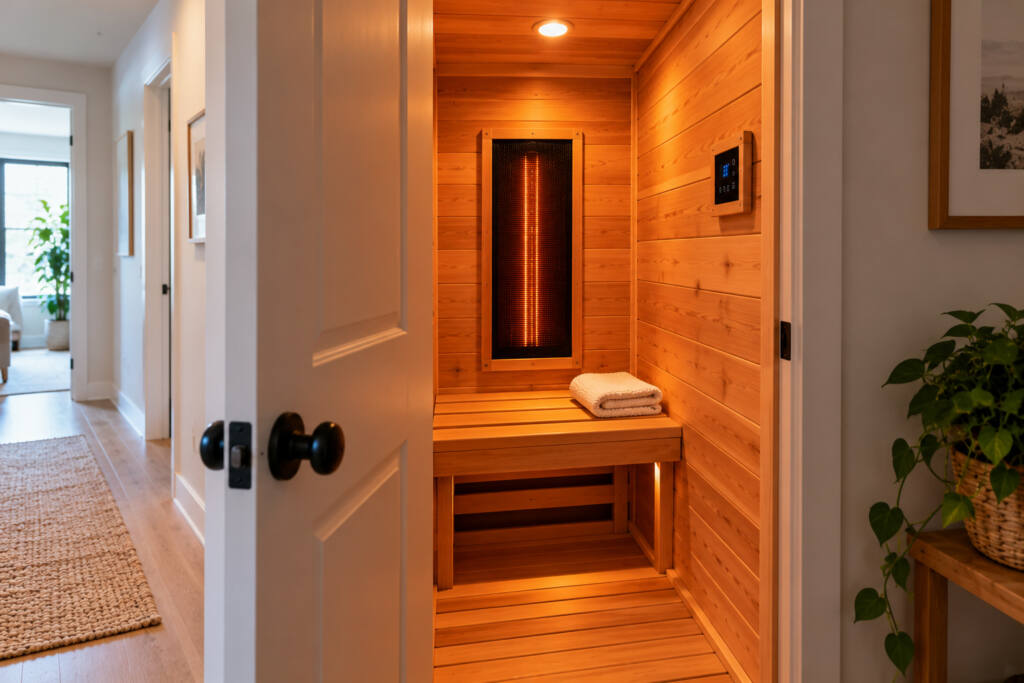
You can convert a closet into a sauna in a small US home, but the successful version is not a space heater inside a cedar-lined closet.
The first question in any convert closet into sauna project is whether the room meets the electrical and structural requirements.
A real closet sauna needs to be treated as a small building project involving electrical load, heater clearances, insulation, moisture management, ventilation, fire safety, and materials that can repeatedly tolerate high temperatures.
For many US homes, the easiest closet conversion is an infrared sauna. A compact 120V infrared system can work in a room that would be too small for a conventional stone heater.
A traditional Finnish-style sauna is possible in a sufficiently large walk-in closet, but the space has to satisfy the heater manufacturer’s minimum room volume, ceiling height, safety clearances, ventilation requirements, and electrical specifications.
That distinction should be made before buying any lumber.
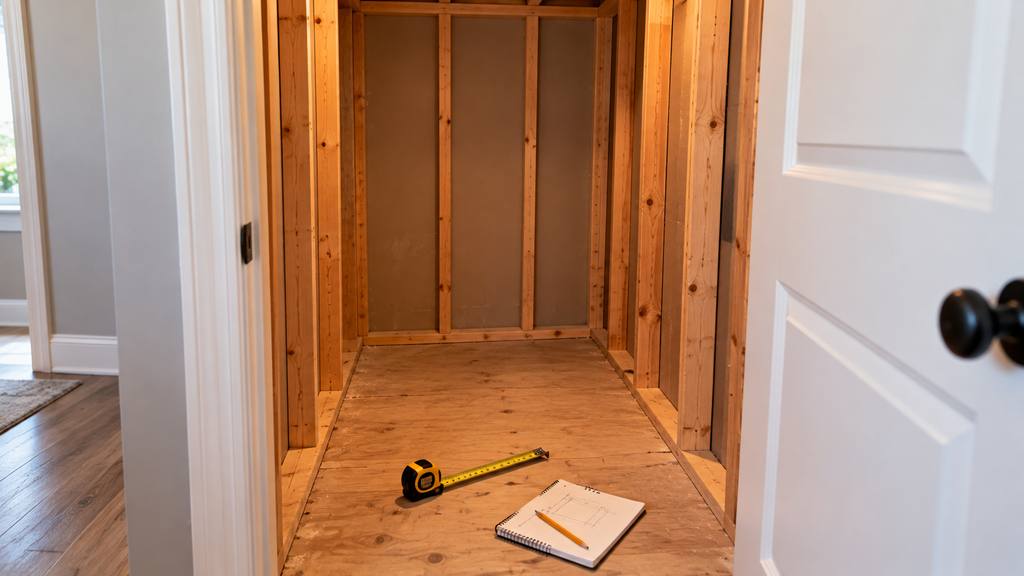
1. Can You Actually Convert a Closet into a Sauna?
Potentially, yes.
Start by answering five questions.
Do You Own the Property?
Homeowners have the most flexibility, but that does not mean the project is automatically exempt from permits or building requirements.
A permanent sauna conversion can involve:
- New branch circuits
- 240V wiring
- Changes to walls or ceilings
- New ventilation openings
- Lighting
- Insulation
- Moisture control
- Door replacement
Depending on your jurisdiction and scope, electrical and/or building permits may be required.
Check with your local building department before construction rather than assuming a closet remodel is too small to matter.
What If You Rent?
For renters, a permanent closet conversion is usually difficult to justify.
You may be altering:
- Electrical wiring
- Wall finishes
- Insulation
- Ventilation
- Doors
- Flooring
Get written landlord approval before making permanent modifications.
If you cannot get approval, a freestanding 120V infrared cabin is usually a much more renter-friendly solution. See our guide to the 5 best infrared saunas for apartments.
Check HOA and Condo Rules
A condo owner may own the interior unit while still facing association rules covering electrical changes, ventilation penetrations, common walls, waterproofing, and contractor requirements.
Do not cut a new exhaust path through a condo wall or ceiling before confirming what you are permitted to alter.
Measure the Ceiling
Ceiling height can eliminate some traditional heaters immediately.
Finnleo says an average custom sauna ceiling is about 84 inches, with its general range running from approximately 77 to 96 inches, although the actual sauna and heater can change those requirements. Finnleo also recommends roughly 2 feet of upper-bench space per bather.
Harvia’s North American 4.5kW KIP45B, for example, specifies a minimum room height of 6.56 feet and a room-volume range of approximately 100–211 cubic feet for the current UL-listed model.
Harvia KIP45B 4.5kW Sauna Heater
This is why a tiny reach-in closet may be physically incapable of becoming a traditional stone-heated sauna even though you could bolt a heater to one wall.
Check Electrical Access Before Anything Else
Find your electrical panel.
Then determine:
- Available panel capacity
- Distance from panel to closet
- Whether a dedicated circuit can be routed there
- Whether 120V or 240V is realistic
- Whether the installation location triggers additional code requirements
Do this before ordering cedar.
The exact circuit requirements depend on the heater you choose — see our guide to dedicated circuit requirements for a home sauna before finalizing your design.
2. What Size Closet Works?
There is no universal minimum closet size because heater requirements vary.
But there are practical limits.
One-Person Infrared Closet
A room around:
3′ × 3′ to 4′ × 4′
can potentially work as a seated one-person infrared sauna if the specific heater system is designed for the resulting enclosure.
A 3′ × 4′ room with a 6.5-foot finished ceiling contains:
78 cubic feet
That is compact, but distributed infrared panels can make better use of such a space than a conventional stone heater requiring its own safety envelope.
The Sauna Parts World 1,956W DIY infrared system, for example, is specifically marketed for compact and closet conversions up to approximately 3.94′ × 4.92′ × 6.23′. It uses six carbon-ceramic heater panels and is available in a 120V configuration.
DIY builders frequently mention that the six-panel layout is what makes the system work in a closet-sized room, since each panel can be positioned to surround the user. The most common complaint is that the kit does not include a controller, so the total cost is higher than the advertised heater price.
Sauna Parts World 1956W 120V Infrared Sauna Heater Kit
For more heater options, see our guide to infrared sauna heaters for small spaces.
One-Person Traditional Sauna
A traditional sauna generally needs more space because you must accommodate:
- The heater
- Heater clearances
- A heater guard where applicable
- Bench
- Safe entry/exit
- Ventilation
- Minimum room volume
Consider a 4′ × 4′ × 7′ room.
That is:
112 cubic feet
Now you are within the published room-volume range of some small traditional heaters.
By comparison, a 3′ × 3′ × 7′ closet is only:
63 cubic feet
That is below the current Harvia KIP45B’s published minimum of 100 cubic feet.
Do not solve an undersized room by installing an oversized heater.
Use equipment designed for the room you actually have.
Owners of the KIP45B on sauna forums frequently note that the 4.5kW heater warms a small 100–150 cubic foot room in about 25–30 minutes. The most common caution is that undersized rooms heat too fast and can feel overwhelming, which is why the minimum room volume matters.
Two-Person Closet Sauna
A practical two-person seated sauna generally starts making more sense around:
4′ × 5′
or larger.
Finnleo’s custom free-standing traditional sauna range starts at 4′ × 5′, and its design guidance calls for approximately 2 feet of upper bench per person.
A closet narrower than 4 feet can technically seat two people in some layouts, but “technically fits” is not the same as comfortable.
Remember that insulation, furring and interior paneling also reduce the original closet dimensions.
3. Electrical Requirements
This is the part of a closet sauna I would not improvise.
120V Infrared
A small infrared installation can sometimes operate on 120V.
But “120V” does not mean “plug it into whatever outlet is already in the closet.”
The 1,956W Sauna Parts World heater kit draws roughly:
1,956W ÷ 120V = 16.3A
The manufacturer recommends a dedicated 20A circuit. It also notes that a compatible controller/power box is required separately.
That existing 15A closet receptacle is therefore not an appropriate substitute.
Sauna Parts World 1956W 120V Infrared Sauna Heater Kit.
240V Traditional
Traditional stone heaters commonly require 240V in US residential installations.
The current North American Harvia KIP45B is a 4.5kW, 240VAC single-phase heater. Harvia specifies 10 AWG supply wiring for the referenced UL configuration and a minimum electrical load of 18.8A; the actual branch-circuit design and overcurrent protection should follow the exact model’s instructions and applicable code.
This is electrician territory.
Harvia KIP45B 4.5kW Sauna Heater.
Dedicated Circuits
Plan on a dedicated heater circuit when the heater manufacturer requires one.
Do not share a high-load sauna heater circuit with:
- Bathroom appliances
- Space heaters
- Washer/dryer equipment
- General bedroom receptacles
- Other major loads
Lighting and controls may have separate requirements depending on the system.
What About GFCI?
Do not use a blanket internet rule such as “all saunas need GFCI” or “sauna heaters should never be GFCI protected.”
The answer depends on the equipment listing, installation location, adopted NEC edition, local amendments, and manufacturer instructions.
Have the electrician determine the protection required for your exact installation.
Do not bypass required GFCI protection because someone online reported nuisance trips.
4. Insulation and Vapor Barrier
This is where a closet becomes a sauna rather than simply a hot room.
Why Insulation Matters
Without adequate insulation, the heater spends more time heating the surrounding building.
That creates:
- Longer warm-up
- Greater energy consumption
- Uneven temperatures
- More stress on the heating system
Finnleo’s current construction guidance calls for at least approximately R-12 wall insulation and R-16 ceiling insulation in its custom sauna approach.
Its detailed custom-kit instructions describe unfaced fiberglass insulation in the wall cavities and specifically caution against creating a double vapor barrier that can trap moisture.
Those are manufacturer construction recommendations, not substitutes for your local building code or the design of your existing wall assembly.
Why the Vapor Barrier Matters
A traditional sauna intentionally creates hot, humid conditions.
Water vapor moves into places you do not want it:
- Wall cavities
- Insulation
- Framing
- Adjacent drywall
Finnleo’s custom sauna system uses a foil vapor barrier across the walls and ceiling. Its installation instructions describe overlapping the foil and note that it serves both as a vapor barrier and a heat-reflective layer.
A typical assembly therefore looks roughly like:
existing structure → insulation → sauna foil/vapor-control layer → appropriate furring/air space where required by the system → interior sauna paneling
The exact wall assembly should be appropriate for your climate and existing building envelope.
Do not blindly sandwich impermeable layers together.
That can trap moisture rather than solve it.
Infrared Still Needs a Proper Room
An infrared sauna creates less steam because you are not pouring water over stones.
That does not make moisture irrelevant.
People sweat.
The enclosure repeatedly heats and cools.
And established custom infrared systems still use purpose-built sauna construction. Finnleo’s current custom infrared packages, for example, include tongue-and-groove walls and ceiling, foil vapor barrier, ventilation components, benches and dedicated infrared heating panels.
5. Ventilation
Do not seal a closet as tightly as possible and call that energy efficiency.
A sauna needs planned air movement.
Traditional Electric Sauna Ventilation
Harvia’s current ventilation guidance says sauna air should change approximately six times per hour.
For gravity ventilation with an electric heater, Harvia calls for the supply vent below or next to the heater and an exhaust near the floor, as far from the heater as practical. It specifies a supply opening around 50–100 mm in diameter and says the exhaust pipe should have about twice the diameter of the supply.
For mechanically ventilated installations, Harvia uses a different layout, including an upper supply location.
Finnleo’s natural-draw guidance similarly puts the inlet under the heater and the exhaust opposite it, ideally around 2 feet above the floor for its system.
These differences are exactly why you should follow the ventilation diagram for your heater and sauna design, not copy a generic diagram from social media.
Where Does the Exhaust Go?
Do not improvise a duct through:
- A fire-rated wall
- A rated corridor
- A common condo wall
- A garage separation assembly
- An attic
without verifying the applicable requirements.
Penetrations through rated assemblies can affect fire resistance and may require approved firestopping or other construction details.
If you are unsure, this is a building-code question, not a sauna-accessory question.
Dry the Sauna After Use
Ventilation continues to matter after the heater switches off.
Harvia notes that a sauna can also be dried by leaving the door open after bathing.
In a converted closet surrounded by normal residential construction, drying the interior thoroughly is particularly important.
6. Wood and Materials
You do not have to use cedar.
Good sauna interiors can use several wood species.
Western Red Cedar
Cedar is popular because it is dimensionally stable, relatively low density, and has the familiar sauna appearance and aroma.
It is also expensive.
Cedarbrook currently lists clear Western red cedar tongue-and-groove sauna paneling around $16–$18 per square foot, depending on profile. Its 1×4 clear cedar product is currently around $18/sq. ft.
Cedarbrook Clear Cedar Tongue-and-Groove Sauna Paneling
That price explains why “just line the closet with cedar” can become a four-figure decision.
Buyers of clear cedar paneling consistently mention that the wood is thicker and cleaner than what is sold at big-box stores, with fewer knots and no sappy boards. The most common note is that the price reflects the quality — this is not a budget option.
Hemlock
Hemlock gives you a lighter, more uniform appearance and is common in both traditional and infrared saunas.
Finnleo currently offers hemlock alongside cedar and Nordic white spruce in its custom sauna systems.
It is a sensible choice when you dislike cedar’s strong aroma or appearance.
Aspen
Aspen is another sauna-appropriate wood commonly used because it remains comfortable against skin and has a relatively neutral appearance and odor.
Availability in US retail lumber yards can be more limited than cedar.
How Much Paneling Do You Need?
Calculate the surface area of all four walls plus the ceiling, then subtract openings and add waste.
For a hypothetical interior measuring:
4′ × 4′ × 7′
Four walls:
4 × (4 × 7) = 112 sq. ft.
Ceiling:
4 × 4 = 16 sq. ft.
Total:
128 sq. ft.
Subtract the door area, then add roughly 10–15% for offcuts, defects and fitting.
At specialty clear-cedar pricing around $16–$18/sq. ft., the interior paneling alone can easily exceed $1,500 for a room this size.
That does not include:
- Bench lumber
- Framing
- Trim
- Insulation
- Foil
- Door
- Heater
- Electrical work
Budget accordingly.
Do Not Use Random Interior Finishes
Avoid ordinary painted drywall as the exposed hot-room surface.
Also be cautious with:
- MDF
- Particleboard
- Vinyl wall products
- Unknown adhesives
- Pressure-treated wood inside the hot room
- Finishes not intended for sauna temperatures
Sauna interiors are generally built from appropriate untreated or sauna-finished wood.
Cedarbrook, for example, recommends leaving its cedar sauna paneling raw and untreated inside a sauna.
7. Flooring and Drainage
A closet sauna does not automatically require a floor drain.
But the floor needs to tolerate the way you intend to use the room.
Traditional Sauna
A traditional sauna creates more moisture because of water used on the stones, sweat, cleaning, and wet feet.
A practical floor can use an appropriate waterproof surface such as tile over a properly constructed substrate.
A removable wooden duckboard can then provide a comfortable walking surface.
If you are doing substantial wet use or want to wash the room down, a properly designed drain becomes more valuable.
Do not simply drill a hole through a closet floor.
Drainage changes plumbing and waterproofing requirements.
Infrared Sauna
An infrared closet generally needs less water management.
You are not throwing water on stones.
A durable, cleanable floor with a removable wood mat or duckboard may be sufficient depending on the existing construction and manufacturer requirements.
Carpet is a poor starting point.
Remove it rather than building the sauna directly over it.
8. Step-by-Step Closet Sauna Conversion
Here is the order I would use.
Step 1: Decide Between Traditional and Infrared
Do this first.
For a tiny reach-in closet, infrared will usually be the more realistic route.
For a larger walk-in closet with adequate room volume, ventilation options and 240V access, traditional becomes possible.
Every convert closet into sauna project should begin with measuring the finished room, not just the existing closet.
Step 2: Measure the Finished Room, Not Just the Existing Closet
Record:
- Length
- Width
- Height
- Door opening
- Electrical panel distance
- Adjacent wall construction
- Floor type
- Possible vent paths
Remember that insulation and interior finishes reduce usable dimensions.
Step 3: Choose the Heater Before Finalizing the Room
This may sound backward.
It is not.
The heater determines:
- Minimum room volume
- Maximum room volume
- Safety clearances
- Electrical load
- Sensor position
- Ventilation arrangement
- Control placement
For a compact traditional room, one real reference point is the Harvia KIP45B 4.5kW, currently specified for roughly 100–211 cu. ft. in its North American configuration.
Harvia KIP45B 4.5kW Sauna Heater.
For a compact infrared conversion, the Sauna Parts World 1956W kit is specifically marketed for closet-style 1–2 person installations up to approximately 3.94′ × 4.92′ × 6.23′.
Sauna Parts World 1956W 120V Infrared Sauna Heater Kit.
Step 4: Get Electrical and Permit Questions Answered
Before closing any walls, determine:
- Circuit voltage
- Circuit amperage
- Conductor requirements
- Disconnect/control requirements
- Lighting requirements
- GFCI requirements where applicable
- Permit/inspection requirements
Have permanent sauna-heater wiring done or reviewed by a qualified electrician.
Step 5: Strip the Closet
Remove:
- Shelving
- Clothing rods
- Carpet
- Unsuitable wall finishes as required
- Trim that interferes with the new assembly
Inspect the framing.
This is the time to discover moisture damage, plumbing conflicts or electrical junction boxes — not after the cedar is installed.
Step 6: Frame as Needed
Add framing for:
- Bench supports
- Heater mounting
- Door
- Vent openings
- Lighting
- Controller/sensor locations
Do not expect thin decorative paneling to support a heater or bench.
Step 7: Rough In Electrical and Ventilation
Run the necessary electrical work before insulation and interior paneling.
Establish vent paths now.
If a penetration affects a fire-rated assembly, resolve the approved detail before proceeding.
Step 8: Insulate
Insulate the wall and ceiling cavities according to your design, local requirements, and sauna-system instructions.
Pay particular attention to the ceiling because heat rises.
Finnleo’s general custom-sauna guidance calls for at least R-12 walls and R-16 ceiling insulation.
Step 9: Install the Sauna Vapor-Control Layer
For a conventional custom sauna, install the specified foil vapor barrier continuously across walls and ceiling.
Seal/overlap it according to the sauna-system instructions.
Finnleo’s custom installation guidance specifies foil over walls and ceiling with approximately 5-inch overlaps in its system.
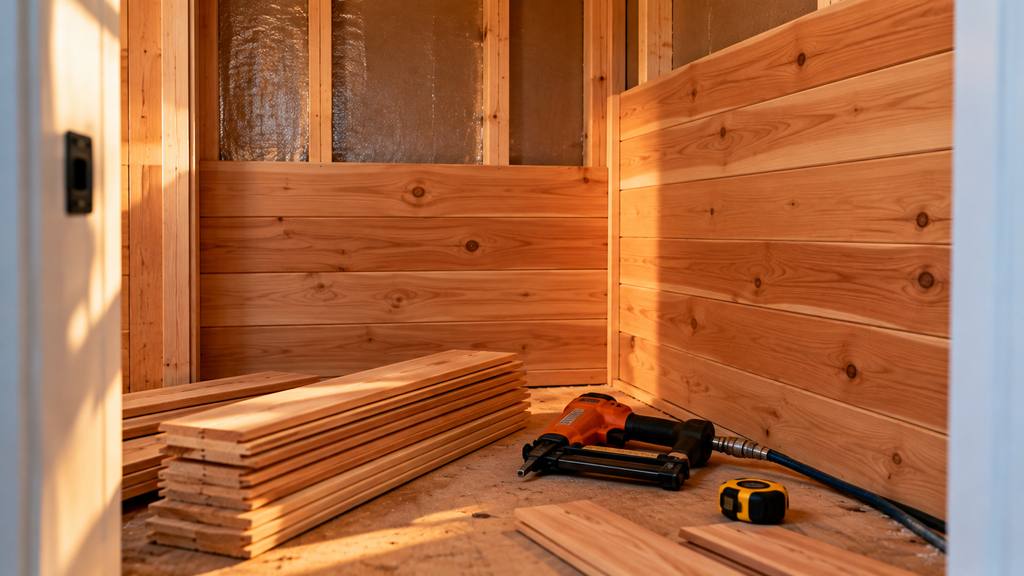
Step 10: Install Interior Wood
Install sauna-appropriate tongue-and-groove boards.
Keep the installation clean and leave the interior wood untreated unless your sauna system specifies an appropriate sauna finish.
Step 11: Build the Bench
A one-person closet does not need elaborate stadium seating.
A single properly supported bench can save considerable space.
Finnleo’s planning guidance uses roughly 2 feet of upper bench length per bather as a starting point.
Make sure the bench location respects heater and emitter clearances.
Step 12: Install Heater, Controls and Sensors
Follow the exact installation manual.
Do not move a temperature sensor because it looks unattractive in the specified position.
Harvia explicitly warns that ventilation airflow can affect temperature sensors and says sensors must be installed in the location specified by the heater instructions.
Step 13: Install the Door
Use a sauna-appropriate door assembly.
The door must work safely at sauna temperatures and should not create an entrapment risk.
Avoid improvised locking hardware.
Step 14: Commission the Room
Before the first real session:
- Verify heater operation
- Verify controls
- Check ventilation
- Inspect clearances
- Check the electrical installation
- Confirm temperature sensor operation
- Watch for unusual odors or overheating
- Verify that the door opens properly
- Check that no surrounding surfaces become unexpectedly hot
Harvia SAS92300 Thermo-Hygrometer
Use an independent sauna thermometer as a second reference. See our guide to sauna thermometers and hygrometers.
Sauna owners frequently mention that the analog hygrometer responds slowly when water hits the stones but catches up within a minute or two. The most common tip is to mount it on the wall opposite the heater, roughly 6 inches below the ceiling, for the most representative reading.
9. Cost Breakdown
A closet conversion can be cheaper than a premium complete sauna, but it is rarely a $500 DIY project once done properly.
For a small one-person room, a reasonable planning budget is:
| Item | Approximate budget |
| Framing/modifications | $100–$400 |
| Insulation | $100–$300 |
| Sauna foil/vapor-control materials | $75–$200 |
| Interior wood | $700–$2,000+ |
| Bench/trim lumber | $200–$600 |
| Sauna door | $300–$800+ |
| Infrared heater system | $650–$1,500+ |
| OR traditional heater | Roughly $500–$1,500+ depending heater/control package |
| Electrical work | $500–$2,000+ |
| Ventilation materials | $50–$300+ |
| Flooring/waterproofing | $100–$800+ |
| Permits/inspection | Local |
| Accessories | $50–$300 |
Realistic Total
For a relatively straightforward DIY infrared closet conversion where you do much of the carpentry yourself:
around $2,500–$5,000 is a more realistic planning range than a few hundred dollars.
A traditional sauna requiring new 240V service, premium cedar, a sauna door and professional labor can readily move into:
$4,000–$8,000+
These are planning ranges, not contractor quotes. Labor rates, wood prices and permit fees vary substantially across the US.
The wood alone can be surprisingly expensive. Specialty clear cedar currently lists around $16–$18 per square foot from Cedarbrook.
What About Running Cost?
Once built, the heater dominates electricity use.
A 1.956kW infrared system running at full rated output for one hour consumes about:
1.956 kWh
A 4.5kW traditional heater at full rated output for one hour consumes:
4.5 kWh
Actual consumption varies because controls can cycle the heater rather than maintaining maximum output continuously.
For a detailed US cost breakdown, see our complete US breakdown of sauna running costs.
10. Common Mistakes to Avoid
Mistake 1: Buying the Heater After Building the Room
Choose the heater first.
Otherwise you can finish a beautiful 75-cu.-ft. closet and discover your chosen traditional heater requires at least 100 cu. ft.
The most common mistake when you convert closet into sauna is buying the heater after building the room.
Mistake 2: Assuming 120V Means a Normal Outlet
A 1,956W infrared system draws approximately 16.3A at 120V and its manufacturer recommends a dedicated 20A circuit.
Voltage is only half the electrical story.
Mistake 3: Skipping the Vapor-Control Strategy
Hot moisture entering a wall cavity is not something you want to discover years later.
Plan the wall assembly deliberately.
Mistake 4: Eliminating Ventilation to “Keep Heat In”
A sauna is not supposed to be an airtight wooden box.
Harvia currently calls for roughly six air changes per hour in sauna ventilation guidance.
Mistake 5: Ignoring Heater Clearances
Do not measure whether the heater itself fits.
Measure whether the heater plus every required clearance fits.
Those are different questions.
Mistake 6: Using Cheap Decorative Cedar Paneling Without Checking It
Some thin cedar products are designed for closets specifically because cedar smells pleasant.
That does not automatically make every cedar closet-liner product suitable as the exposed interior of a high-temperature sauna.
Use sauna-appropriate material.
Mistake 7: Building Over Carpet
Remove it.
A sauna needs a durable, cleanable floor.
Mistake 8: Forgetting Where Wet Towels Go
In a 3′ × 4′ room, accessories become clutter quickly.
Keep hooks and wet-towel storage outside the hot room when possible. See our guide to the best sauna and cold plunge towels and robes.
FAQ
Can I convert a standard reach-in closet into a sauna?
Possibly for infrared.
Traditional stone heaters are harder because many small closets do not meet heater minimum room-volume and clearance requirements.
Measure the finished room and compare it with the exact heater specifications before construction.
Is an infrared sauna better for a closet?
Usually, yes, if space and electrical capacity are the main constraints.
Distributed infrared panels do not require the same central stone-heater footprint, and some compact systems operate on 120V.
That does not eliminate the need for proper construction, electrical work and ventilation.
Can I use the existing closet outlet?
Do not assume so.
A 1,956W 120V infrared system is roughly a 16.3A load and its manufacturer recommends a dedicated 20A circuit.
Have the circuit identified and evaluated.
Does a closet sauna need a drain?
Not always.
An infrared sauna normally has much less water involved.
A traditional sauna may still function without a floor drain depending on its design and cleaning method, but a waterproof, cleanable floor is important.
If you intend to wash down the room or use significant water, properly designed drainage becomes more valuable.
Does a sauna need a vapor barrier?
A conventional custom sauna needs an intentional vapor-control strategy.
Finnleo’s traditional and custom infrared sauna systems both use foil vapor barriers in their construction.
How that layer integrates with the rest of your home’s wall assembly should be appropriate to the building and climate.
Can I use drywall inside the sauna?
Drywall can be part of surrounding construction depending on the assembly, but ordinary painted drywall should not be treated as the final exposed hot-room surface in a traditional custom sauna.
Use a sauna-appropriate interior system.
Can I put a traditional sauna in a bedroom closet?
Potentially, but the fact that the closet is attached to a bedroom does not override electrical, ventilation, heater-clearance, building, or manufacturer requirements.
You also need to consider how moisture is removed after each session.
For a cold plunge equivalent, see our guide to setting up a cold plunge in a small bathroom.
If you do not have a closet to convert, a pop-up steam sauna can sit in the corner of a bedroom or bathroom without permanent installation or electrical upgrades.
Is converting a closet cheaper than buying a prefab sauna?
Sometimes.
If you already have a suitable room, do the carpentry yourself and have convenient electrical access, a conversion can make financial sense.
If you need a new circuit, premium cedar, a custom door, professional carpentry, ventilation changes and permits, a complete cabin may be competitive.
Compare the finished cost rather than only the heater price. See our guide to the 5 best infrared saunas for apartments.
Final Recommendations
A closet can make a very good small sauna, but only when the room dictates the heater — not the other way around.
For a small reach-in or compact walk-in closet, I would start by investigating infrared.
The Sauna Parts World 1956W 120V Infrared Sauna Heater Kit is one real system specifically marketed for compact custom and closet sauna projects. It uses six carbon-ceramic panels, costs about $650 at the time checked, and is designed for rooms up to approximately 3.94′ × 4.92′ × 6.23′. The manufacturer recommends a dedicated 120V/20A circuit.
Sauna Parts World 1956W 120V Infrared Sauna Heater Kit.
For more infrared heater choices, see our guide to infrared sauna heaters for small spaces.
If you have a larger walk-in closet and specifically want stones, higher air temperatures and löyly, investigate a traditional heater.
The North American Harvia KIP45B 4.5kW is a useful reference point. The current 240V model is UL-listed and rated for roughly 100–211 cubic feet, with a minimum room height around 6.56 feet.
Harvia KIP45B 4.5kW Sauna Heater
But do not buy it simply because your closet exceeds 100 cubic feet.
You still need to satisfy its exact safety clearances, ventilation arrangement, electrical requirements, and installation instructions.
For the room itself, prioritize spending in this order:
electrical safety → correct heater sizing → insulation → moisture control → ventilation → appropriate interior wood → bench comfort → accessories.
A $150 bucket or Bluetooth speaker cannot fix a poorly insulated wall.
A premium heater cannot fix an unsafe circuit.
And beautiful cedar cannot compensate for moisture being driven into the wall cavity behind it.
Harvia SAS92300 Thermo-Hygrometer
For monitoring the finished room, see our guide to sauna thermometers and hygrometers.
For accessories after the construction work is finished, see our guide to the best sauna accessories for small home saunas.
If the electrical work, vapor barrier, ventilation and carpentry start turning a closet conversion into a larger renovation than you expected, reconsider the basic premise.
A complete 120V cabin may be easier. See our guide to the 5 best infrared saunas for apartments.
Or, if permanent construction is the problem entirely, see our guide to infrared sauna blankets for small apartments.
For a garage rather than a closet, see our guide to setting up a sauna in a garage.
The best closet sauna is not the smallest room into which you can physically squeeze a heater. It is the smallest room you can properly insulate, ventilate, power, dry, and use while maintaining every clearance required by the equipment.
This post contains affiliate links. If you buy through them, we may earn a commission at no extra cost to you.